Phase 1 · Trip
01
Create and activate a trip
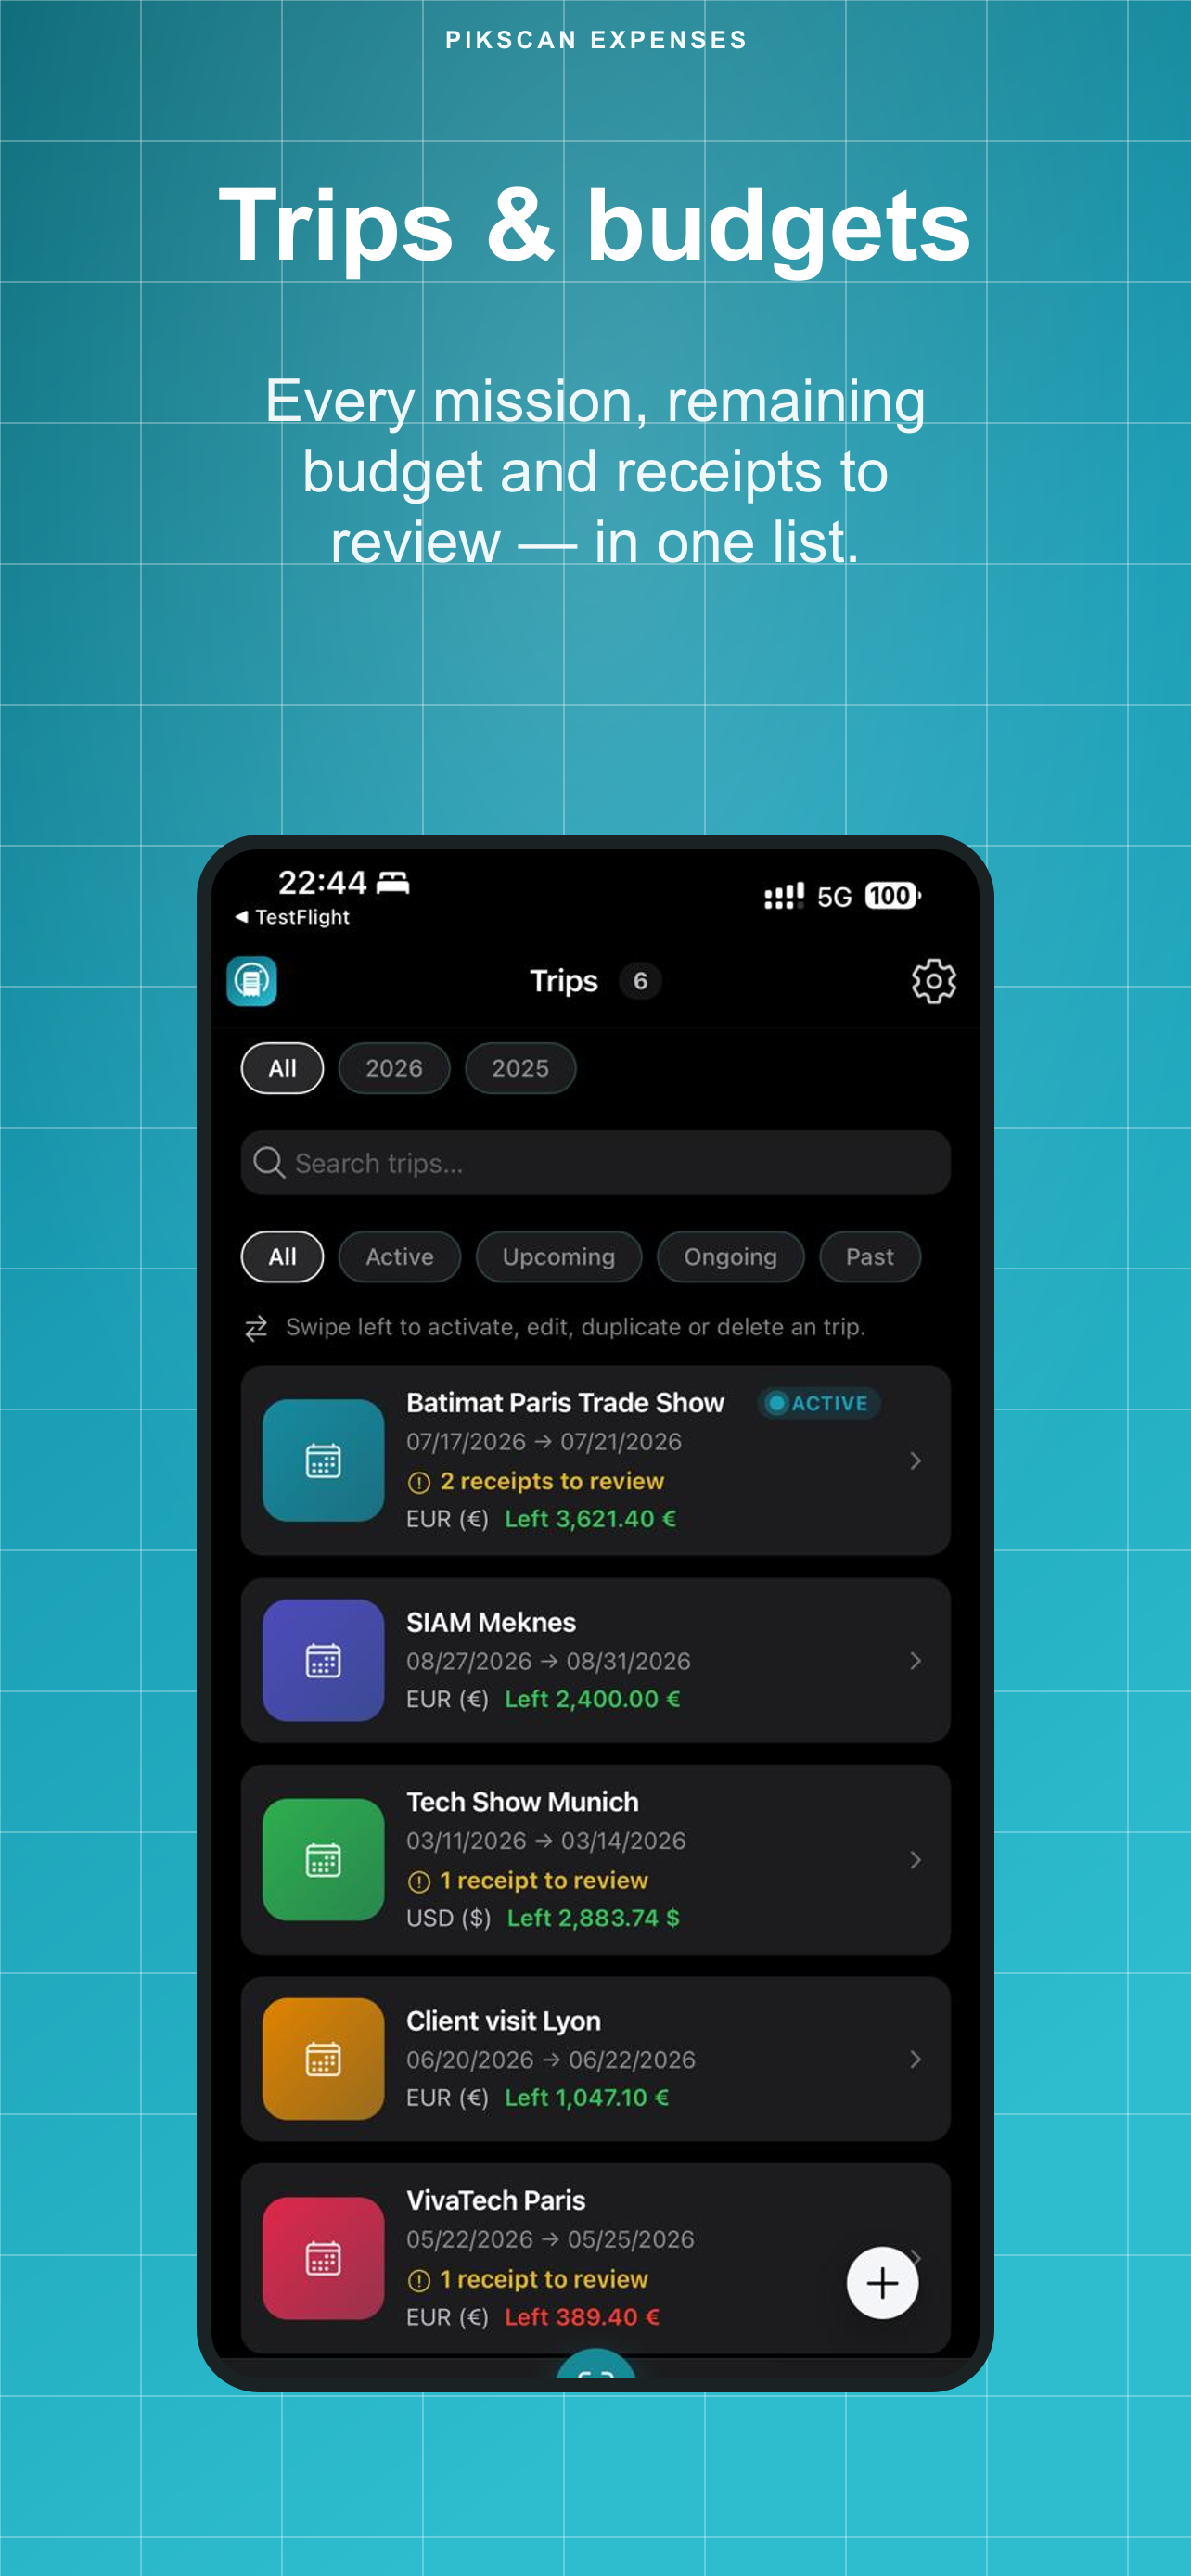
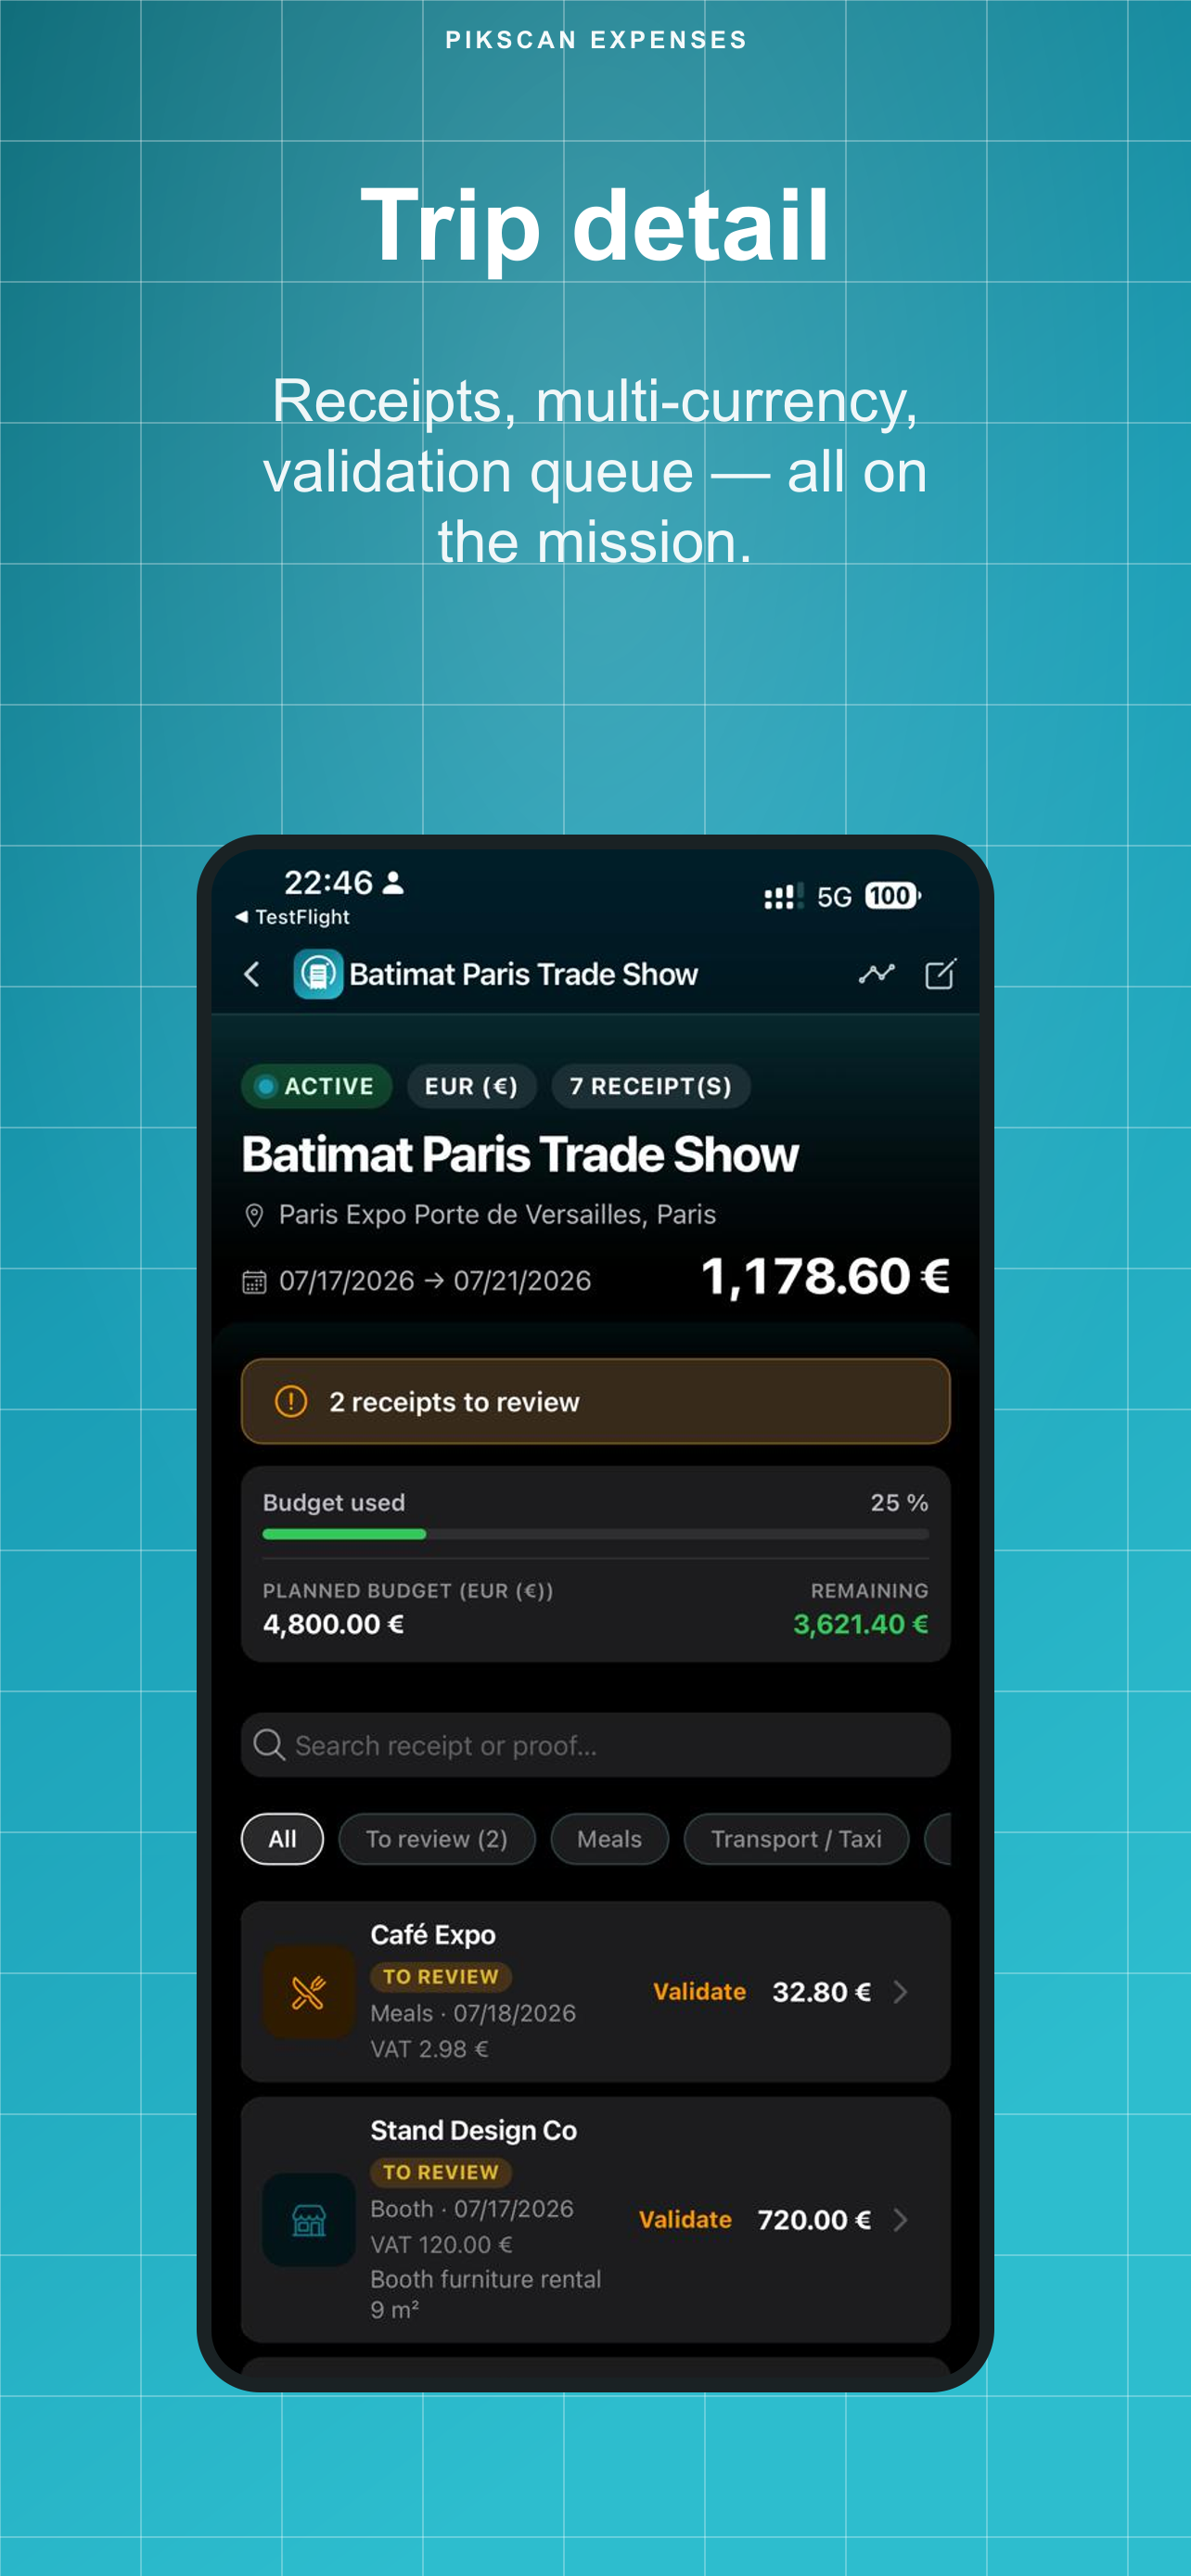
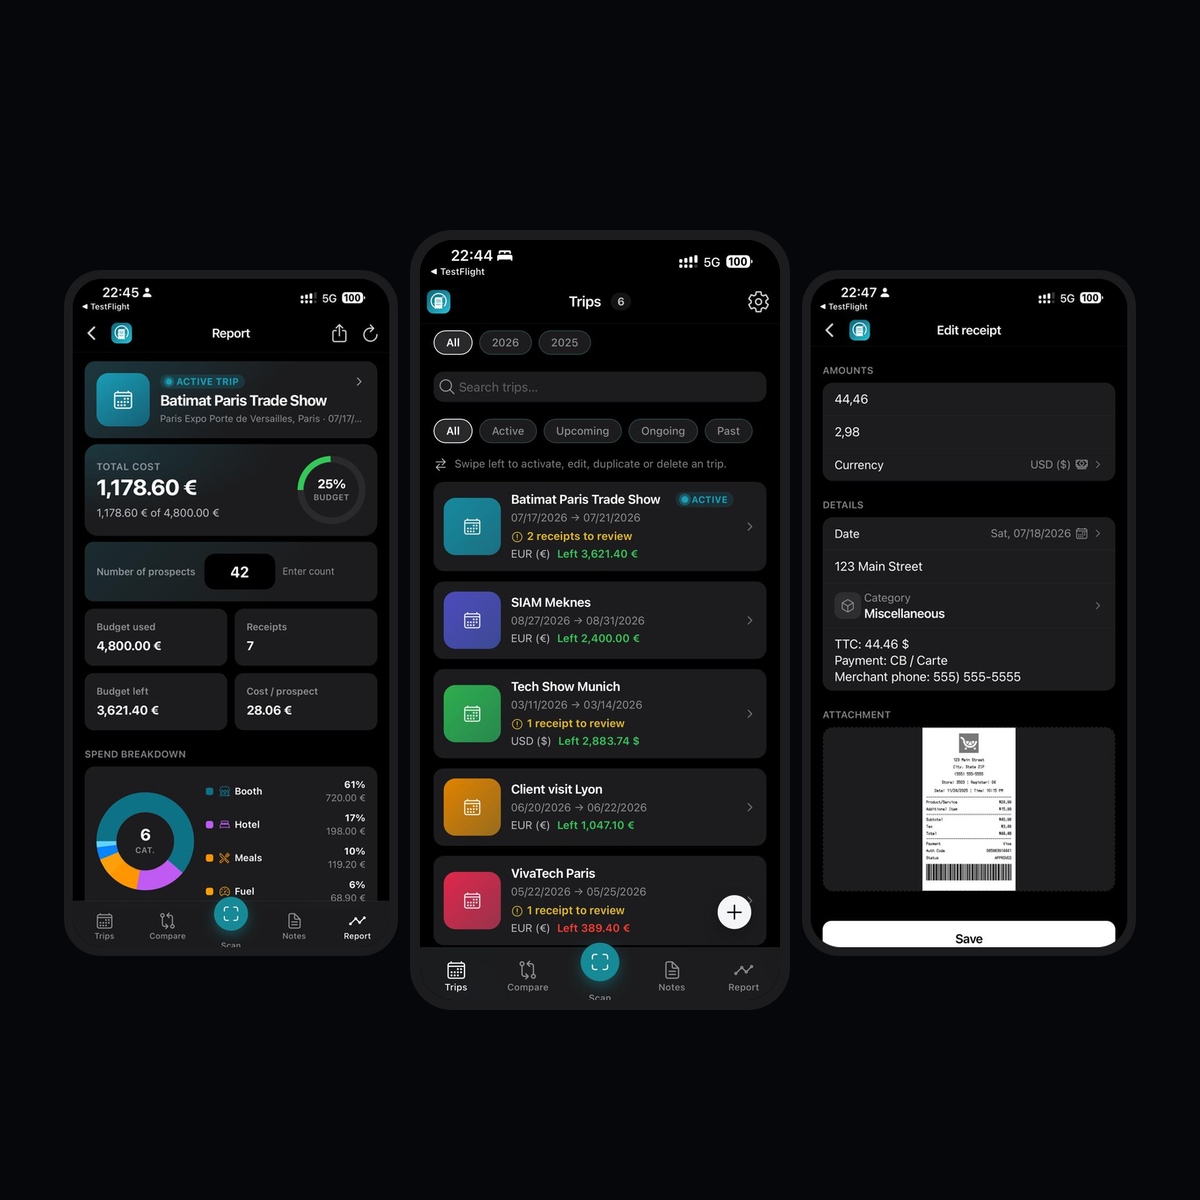
A trip (mission) groups dates, place, currency, planned budget and every receipt you scan.
- Install the app and finish the short onboarding (3 slides).
- Open the Trips tab → tap +.
- Fill name, start/end dates, city, venue, currency and planned budget. Optional ambiance color tints the UI.
- Save, then activate the trip (swipe left → Activate, or open it and set active). Scan needs an active trip.
- Filter the list by year, Active / Upcoming / Ongoing / Past, or search by name.